




TL;DR
- The Digia WebEngage plugin intercepts WebEngage In-App campaign payloads and pipes them directly into Digia's native rendering engine, replacing WebEngage's WebView-based rendering with a 100% native experience on-device, no WebViews required, while WebEngage continues to own targeting, journeys, and outbound channels entirely unchanged.
- This article covers the exact mechanism that makes this work, and the four-component plugin architecture behind it.
- It covers the setup and initialization sequence, and how WebEngage's own segmentation model maps into Digia's targeting layer.
- It covers the workflow a product manager or marketer actually uses day to day, and the specific experience types supported.
- It covers how event data flows back into WebEngage's own analytics, and the version requirements and common troubleshooting steps.
- Sourcing note: All technical detail in this article is drawn directly from Digia's own developer documentation and package registry listings, cited at each point.
The Core Mechanism: How a WebEngage Campaign Becomes a Native Digia Component
The integration's entire technical premise rests on a single, specific mechanism worth understanding precisely before anything else in this article makes sense.
Each WebEngage In-App campaign carries a single digia_campaign_key, set inside a Custom HTML digia-config block within the WebEngage campaign editor. That key maps directly to a campaign a team has separately designed inside the Digia Engage Dashboard. When the WebEngage campaign triggers for a given user, based on whatever targeting and journey logic WebEngage has already evaluated, the Digia plugin intercepts that campaign payload before it renders, resolves the digia_campaign_key against the set of campaigns Digia pre-fetched at app startup, and renders the matching component natively on the device. No WebView is involved at any point in this rendering path.
The practical effect: WebEngage still decides who qualifies for a campaign and when, exactly as it always has. What changes is what happens the instant that decision is acted on. Instead of WebEngage's own in-app rendering engine drawing content through a WebView, the Digia plugin takes over rendering entirely, using the app's own native component library. The flow, stated in its simplest form, is: WebEngage Campaign → Plugin bridges to Digia → Digia renders → Events sent back to WebEngage.
The Plugin's Architecture: Four Components
The plugin is not a single monolithic bridge. It is composed of four distinct pieces, each handling a specific part of the handoff between the two systems.
DigiaWebEngagePlugin, the main plugin class, implements a shared interface, DigiaCEPPlugin, that Digia uses consistently across its different CEP integrations, CleverTap, MoEngage, and WebEngage alike. This is worth noting specifically because it confirms the WebEngage integration is not a one-off, bespoke build. It follows the same underlying plugin contract Digia applies to every CEP it integrates with, which has direct implications for how consistently the rest of Digia's platform, dashboard, campaign editor, analytics, behaves regardless of which CEP a team happens to be layered on.
WebEngageSdkBridge bridges WebEngage's own native SDK callbacks into Dart, the language Digia's cross-platform SDK is built in. This is the component that listens for WebEngage's own events and campaign triggers at the native platform level and forwards them into Digia's runtime.
WebEngageEventBridge runs in the opposite direction, forwarding interaction events generated inside a Digia-rendered component, a tap, a dismissal, a completed survey, back into WebEngage's own analytics system. This is the specific mechanism that keeps WebEngage's reporting accurate even though the actual rendering happened outside WebEngage's own rendering engine.
WebEngagePayloadMapper translates WebEngage's own data format into the payload structure Digia's rendering engine expects. This is the component doing the literal translation work between two systems that were not originally built to speak the same format.
Setup and Initialization Sequence
The setup sequence matters specifically because getting the initialization order wrong is the most commonly documented cause of campaigns failing to appear.
Prerequisites. A Digia Access Key, retrieved from the Digia Engage Dashboard under Settings then App Settings, and an active WebEngage account with access to its License Code. The core WebEngage SDK needs to already be installed and initialized as part of a team's standard app setup before adding the Digia plugin packages, since the Digia plugin is designed to layer on top of an existing WebEngage integration, not replace the initial WebEngage setup step.
Installation by platform. For Flutter, the packages are added directly through the package manager, flutter pub add digia_engage digia_webengage_plugin. For Android, dependencies are declared in the app's build.gradle.kts file, referencing tech.digia:engage and tech.digia:engage-webengage, followed by a Gradle sync. For iOS using Swift Package Manager, the packages are added through Xcode's Add Package Dependencies flow or directly in Package.swift, pulling from Digia's own GitHub repositories for both the core Digia Engage iOS package and the WebEngage-specific bridge package, with DigiaEngage and DigiaWebEngage added as target dependencies. iOS also requires additional native setup in AppDelegate.swift specifically to wire WebEngage's push notification delegate through the Digia bridge, since push notification handling has to be explicitly connected between the two SDKs rather than happening automatically.
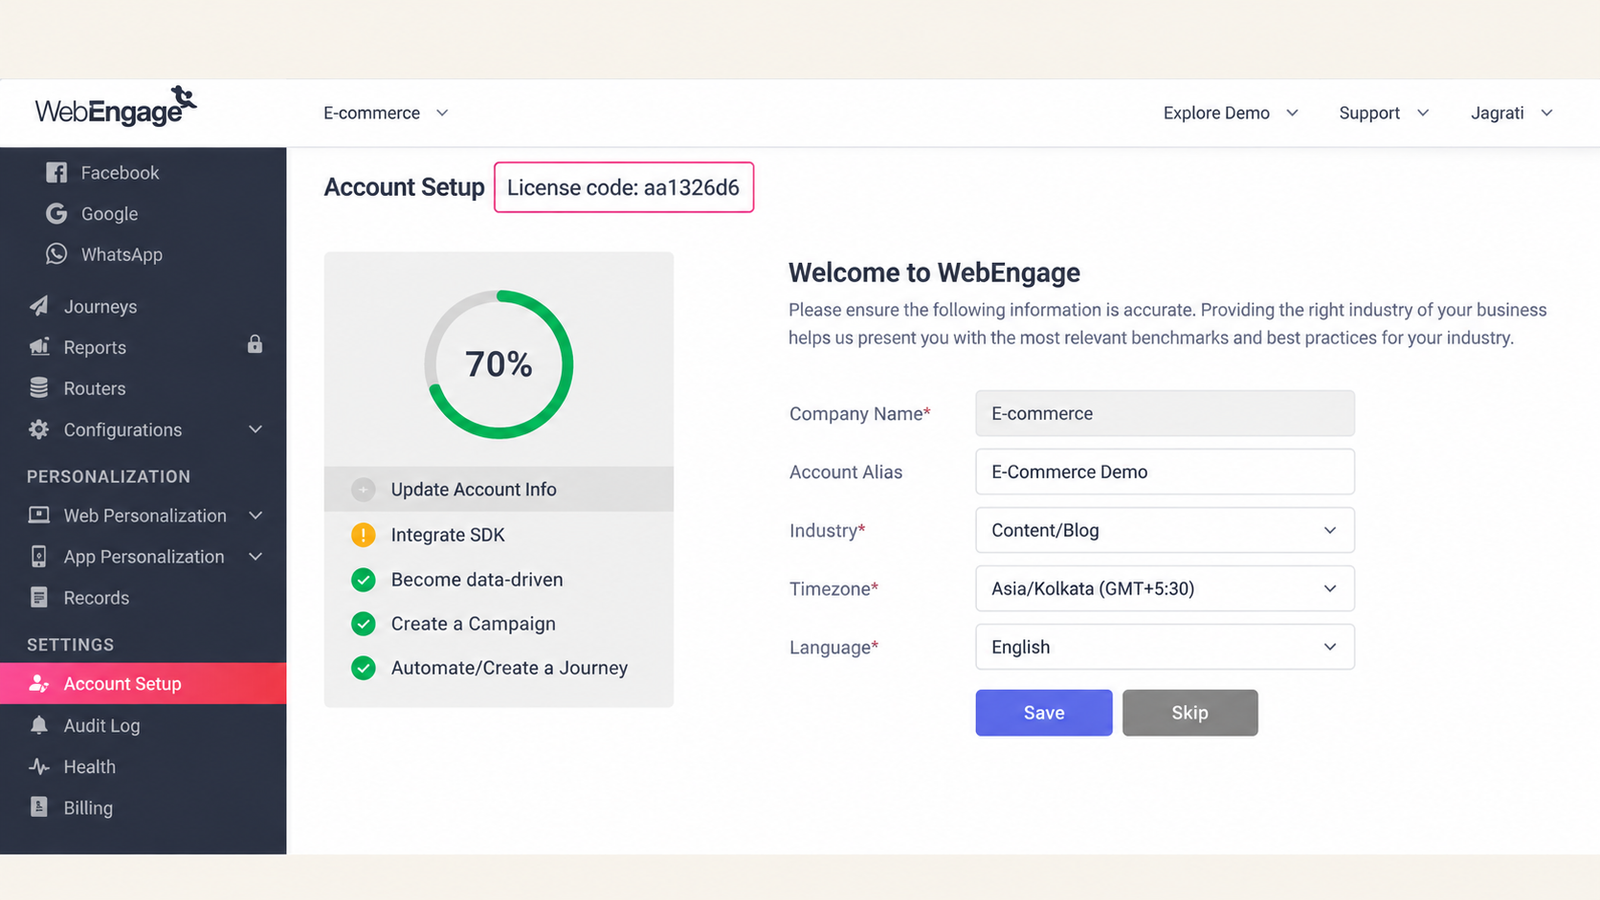
Registration order. The documented setup sequence is explicit and sequential: configure WebEngage following its own platform-specific SDK documentation first, initialize the Digia SDK with a team's credentials second, register the Digia WebEngage plugin only after both prior steps are complete, Digia.register(DigiaWebEngagePlugin()), and use Digia.forwardScreen() when navigating between screens to trigger campaign delivery correctly. Registering the plugin before WebEngage itself has finished initializing is a documented, specific cause of campaigns not appearing, which is why the order matters as a discrete troubleshooting step, not just a general best practice.
How WebEngage's Segmentation Model Maps Into Targeting
WebEngage's own segmentation is built around three broad parameters: User attributes, Behavior, and Technology, with every segment reporting a specific breakdown of total users, known users, unknown users, and reachable users, the last of which specifically indicates how many users in a segment can actually be reached through at least one engagement channel, push, in-app, SMS, on-site, web push, or email, at the present moment. Users are identified throughout this system based on the Unique Identifier a team specifies during their WebEngage account setup, which is the same identifier the Digia integration relies on to resolve a given user consistently across both systems.
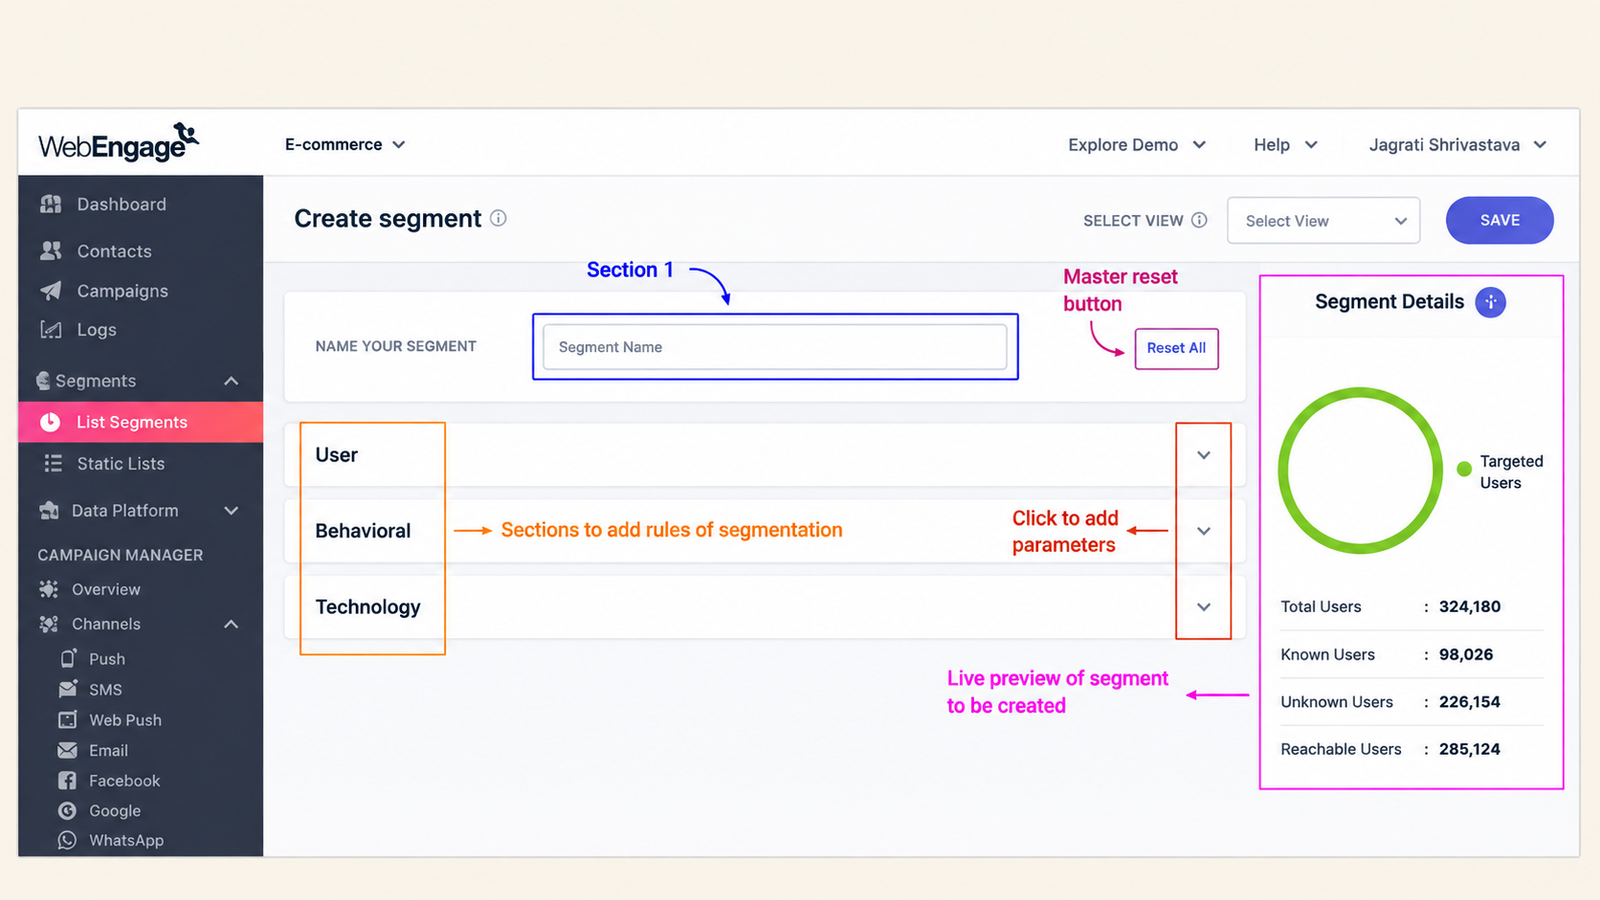
Because the Digia plugin intercepts a WebEngage campaign's payload rather than recomputing targeting independently, none of this segmentation logic needs to be rebuilt inside Digia. A campaign's audience is still whatever WebEngage's own journey and segment rules determined it to be. Digia's role begins only once that targeting decision has already been made and the campaign is about to render, which is the specific architectural choice that avoids duplicating WebEngage's own targeting computation inside a second system.
The Day-to-Day Workflow for a Product Manager or Marketer
The developer-facing setup covered above is a one-time integration step. Once it is complete, the recurring, day-to-day workflow for building and launching a campaign is designed for a non-developer to run independently.
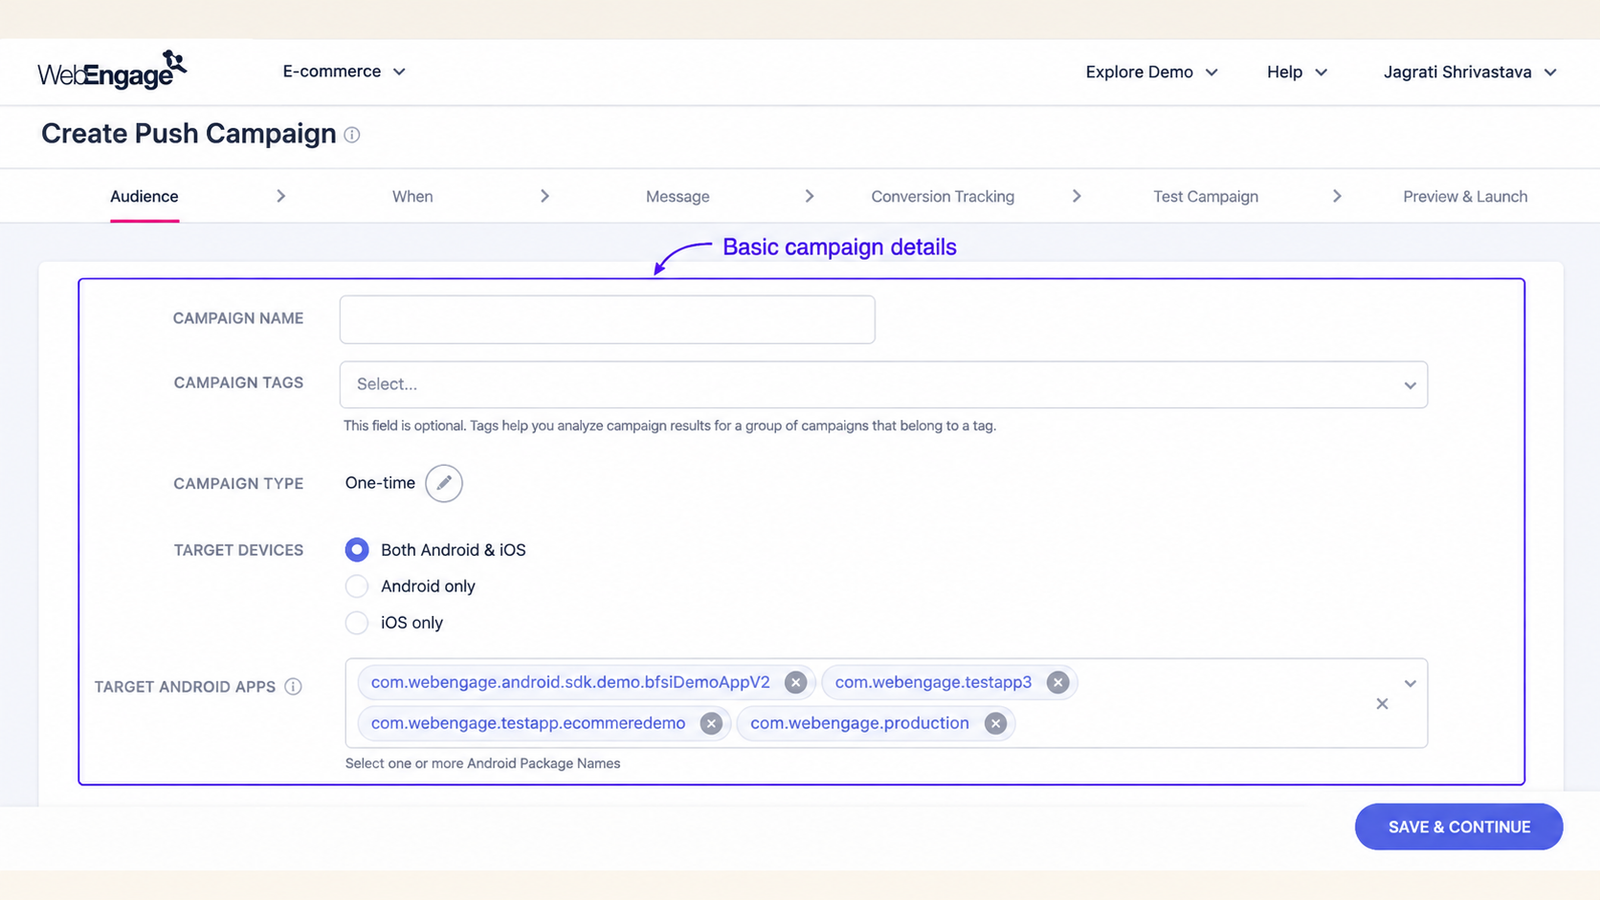
Slot keys for inline content. A slot key is the name an app's engineering team assigns to a specific place in the app's layout where inline Digia content, such as a carousel, can render. This slot key has to match exactly between what the app team implemented and what a campaign builder references in the Digia dashboard, which means a product manager building an inline campaign needs the specific slot key shared by their app team as a prerequisite, alongside the audience and trigger event already decided inside WebEngage.
The campaign build checklist for a PM building a WebEngage-triggered inline experience. Access to the matching WebEngage project, confirmation that the app is already integrated with both Digia Engage and WebEngage, the specific audience and trigger event decided in WebEngage, a test profile or test segment inside WebEngage to verify the campaign before it goes live, the specific Digia inline slot the app team has already added for where the content should render, the slot key itself, and the actual creative assets, image URLs and tap actions, ready to configure. None of these steps require writing or reviewing code, which is the specific point at which the integration hands off from a one-time developer setup task to a repeatable, marketer-owned workflow.
Supported Experience Types
The plugin currently supports rendering bottom sheets, dialogs, inline banners, surveys, tooltips, and spotlights, all rendered as fully native components rather than through WebEngage's own WebView-based in-app rendering. This format range covers both interruptive formats, bottom sheets and dialogs, and inline formats, banners and other content that lives within a screen's existing layout rather than appearing on top of it, which reflects the general architectural distinction between overlay content and inline content that determines how intrusive a given experience feels to a user encountering it.
How Event Data Flows Back Into WebEngage
A layered integration only works cleanly if interaction data does not disappear into a silo separate from a team's existing reporting. The WebEngageEventBridge component specifically exists to prevent this: taps, dismissals, and survey completions occurring inside a Digia-rendered component are captured and routed back into WebEngage's own analytics, so a campaign's outcome data sits alongside a team's existing WebEngage reporting rather than requiring a second, disconnected dashboard to interpret. This means a product manager or growth lead reviewing campaign performance does not need to reconcile two separate measurement systems to understand how a single campaign performed, even though the rendering itself happened outside WebEngage's own rendering engine entirely.
Version Requirements and Common Troubleshooting
Minimum platform versions. iOS deployment target of 12.0 or higher, and Android API level 21 or higher. For React Native specifically, the documented environment requirement is React Native 0.83 or higher paired with React 19.2 or higher. Package versions themselves are not pinned in Digia's setup guide, with the explicit recommendation to install the latest version from each platform's own registry, pub.dev for Flutter and npm for the JavaScript-based packages, rather than relying on a specific version number that may have since been superseded.
The documented troubleshooting sequence for campaigns not appearing. Verify the plugin was actually registered, confirming the Digia.register(DigiaWebEngagePlugin()) call executed. Confirm WebEngage itself was initialized before Digia's own initialization step, since the registration order covered earlier in this article is the single most common root cause when campaigns fail to render. And confirm the app meets the minimum platform version requirements, since a deployment target or API level below the documented minimum is a distinct, separate failure mode from an initialization-order problem.
Topics Not in the Brief That Teams Should Know
The plugin architecture is consistent across Digia's other CEP integrations, which has a direct practical benefit. Because DigiaWebEngagePlugin implements the same DigiaCEPPlugin interface Digia uses for its CleverTap and MoEngage integrations, a team that has already built familiarity with how one of these integrations works, its campaign-key mapping model, its event bridge pattern, is not starting from zero when evaluating or implementing a different one. This consistency is a specific, verifiable architectural choice, not a general claim about ease of use.
The digia-config HTML block is a specific, easy-to-miss configuration step worth flagging explicitly. Because the digia_campaign_key is set inside a Custom HTML block within WebEngage's own campaign editor, rather than through a dedicated Digia-specific field WebEngage might otherwise expose, this is a step that can be missed entirely by a marketer building a campaign who is not specifically aware it needs to happen, resulting in a campaign that fires correctly inside WebEngage but never resolves to a Digia component because the mapping key was never set.
iOS push notification delegate wiring is a native-code step that cannot be skipped even on a cross-platform framework. Even for a Flutter app, the documented iOS setup requires editing native Swift code directly in AppDelegate.swift to bridge WebEngage's push notification delegate through Digia, which is a reminder that a cross-platform SDK integration is rarely entirely code-free at the native layer, particularly around push notification handling, which both platforms treat as a genuinely native-level concern.
Key Takeaways
The integration's core mechanism is payload interception: WebEngage continues to compute targeting and decide when a campaign fires, and the Digia plugin intercepts that campaign's payload at the moment of rendering, resolving a digia_campaign_key set inside WebEngage's own Custom HTML campaign editor against a matching campaign built in the Digia dashboard.
The plugin is built from four distinct components, the main plugin class implementing a shared CEP interface, a bridge translating WebEngage's native SDK callbacks into Digia's runtime, an event bridge forwarding interaction data back into WebEngage's analytics, and a payload mapper translating between the two systems' data formats.
Correct initialization order is a specific, documented requirement, not a general best practice: WebEngage must be configured and initialized before the Digia SDK, and the Digia plugin must be registered only after both are complete, with incorrect ordering being the most commonly documented cause of campaigns failing to appear.
WebEngage's own three-parameter segmentation model, User attributes, Behavior, and Technology, along with its known, unknown, and reachable user reporting, remains entirely intact and unduplicated, since Digia's role begins only after WebEngage has already made its targeting decision.
The day-to-day campaign-building workflow, using slot keys for inline placement and a defined pre-launch checklist, is specifically designed to be owned by a product manager or marketer independently, once the one-time developer integration is complete.
Six native experience types are currently supported, bottom sheets, dialogs, inline banners, surveys, tooltips, and spotlights, spanning both interruptive and inline formats, all rendered without a WebView.
Further Reading
From Digia Engage:
- WebEngage Alternatives: Rich In-App UI Without Rebuilding Pipelines - the broader strategic case for this integration, covering when layering makes sense against a full platform migration
- Digia vs Pendo: In-App Engagement for Consumer Mobile Apps - the architectural distinction between a layered integration model and a standalone platform
- Integrating an In-App Layer Without Duplicate Data Pipelines or PII Movement - the general architecture principle this article's segmentation section applies specifically to WebEngage
- What Is Digia Engage? The CEP-Layer Architecture Explained - the platform-wide architectural model this WebEngage-specific integration is one implementation of
- Digia Engage WebEngage Integration - the product-facing overview page this article's technical detail extends
External Sources:
- WebEngage Integration, Digia Developer Docs - Digia (the core payload interception mechanism, digia_campaign_key mapping, and prerequisites)
- Digia WebEngage Integration, Digia Developer Docs - Digia (platform-specific installation steps for Flutter, Android, and iOS)
- digia_webengage_plugin, pub.dev - Digia (the four-component plugin architecture, setup sequence, and troubleshooting steps)
- Inline Carousel, Digia User Guide - Digia (the slot key mechanism and PM-facing campaign build checklist)
- Journey Creation Guide, WebEngage Knowledge Base - WebEngage (the User, Behavior, and Technology segmentation model, and known/unknown/reachable user reporting)
The payload interception, native rendering, and bidirectional event sync described in this article are native to how Digia Engage integrates with WebEngage, adding roughly 20 minutes of engineering time on top of a team's existing WebEngage SDK setup. Book a demo to walk through user sync, segment mapping, and campaign delivery on your own WebEngage setup, or read the full developer integration guide for the complete technical reference this article draws on.
